
I grew up loving to express myself creatively. I was that kid that enjoyed doing school projects so long as it involved glue, markers, and lots of GLITTER. I would even offer to do my brother’s projects for him. It’s really no surprise that I ended up doing something that allows me to be creative every single day.
While all cake decorating is a form of art, I find that painting on a cake with a combination of edible paints and buttercream is the most therapeutic form of cake art there is. Most cake projects require perfect lines, sharp corners, and lots of precision. Painting on cakes, on the other hand, requires that you let your ideas of “perfect” go. Once you allow yourself to not worry about getting it just right, you start to create some of the most beautiful artwork on an edible canvas.
Inspiration
It’s good to have an idea of what you want your finished result to look like. Some clients like to provide invitations or decor images so it’s easy to draw inspiration from that. Other times, I find myself searching the internet for pretty watercolor images of the subject I want on my cake. Once I have an idea of what I want to paint, I sketch out my cake. Avalon Yarnes has an amazing Cake and Cookie Planner that comes with sketching templates and consultation pads that I absolutely love. Lately, I have started to use my Procreate app on my iPad to create my sketches. It’s important to know that when you sketch a cake out, nine out of 10 times, it will not look exactly how you imagined it. Sketching is just a way to get your vision down on paper and give you a game plan. This sketch was created using my Procreate app, Apple Pencil, and IPad Pro.

Let’s Get to Bob Ross-ing This Cake
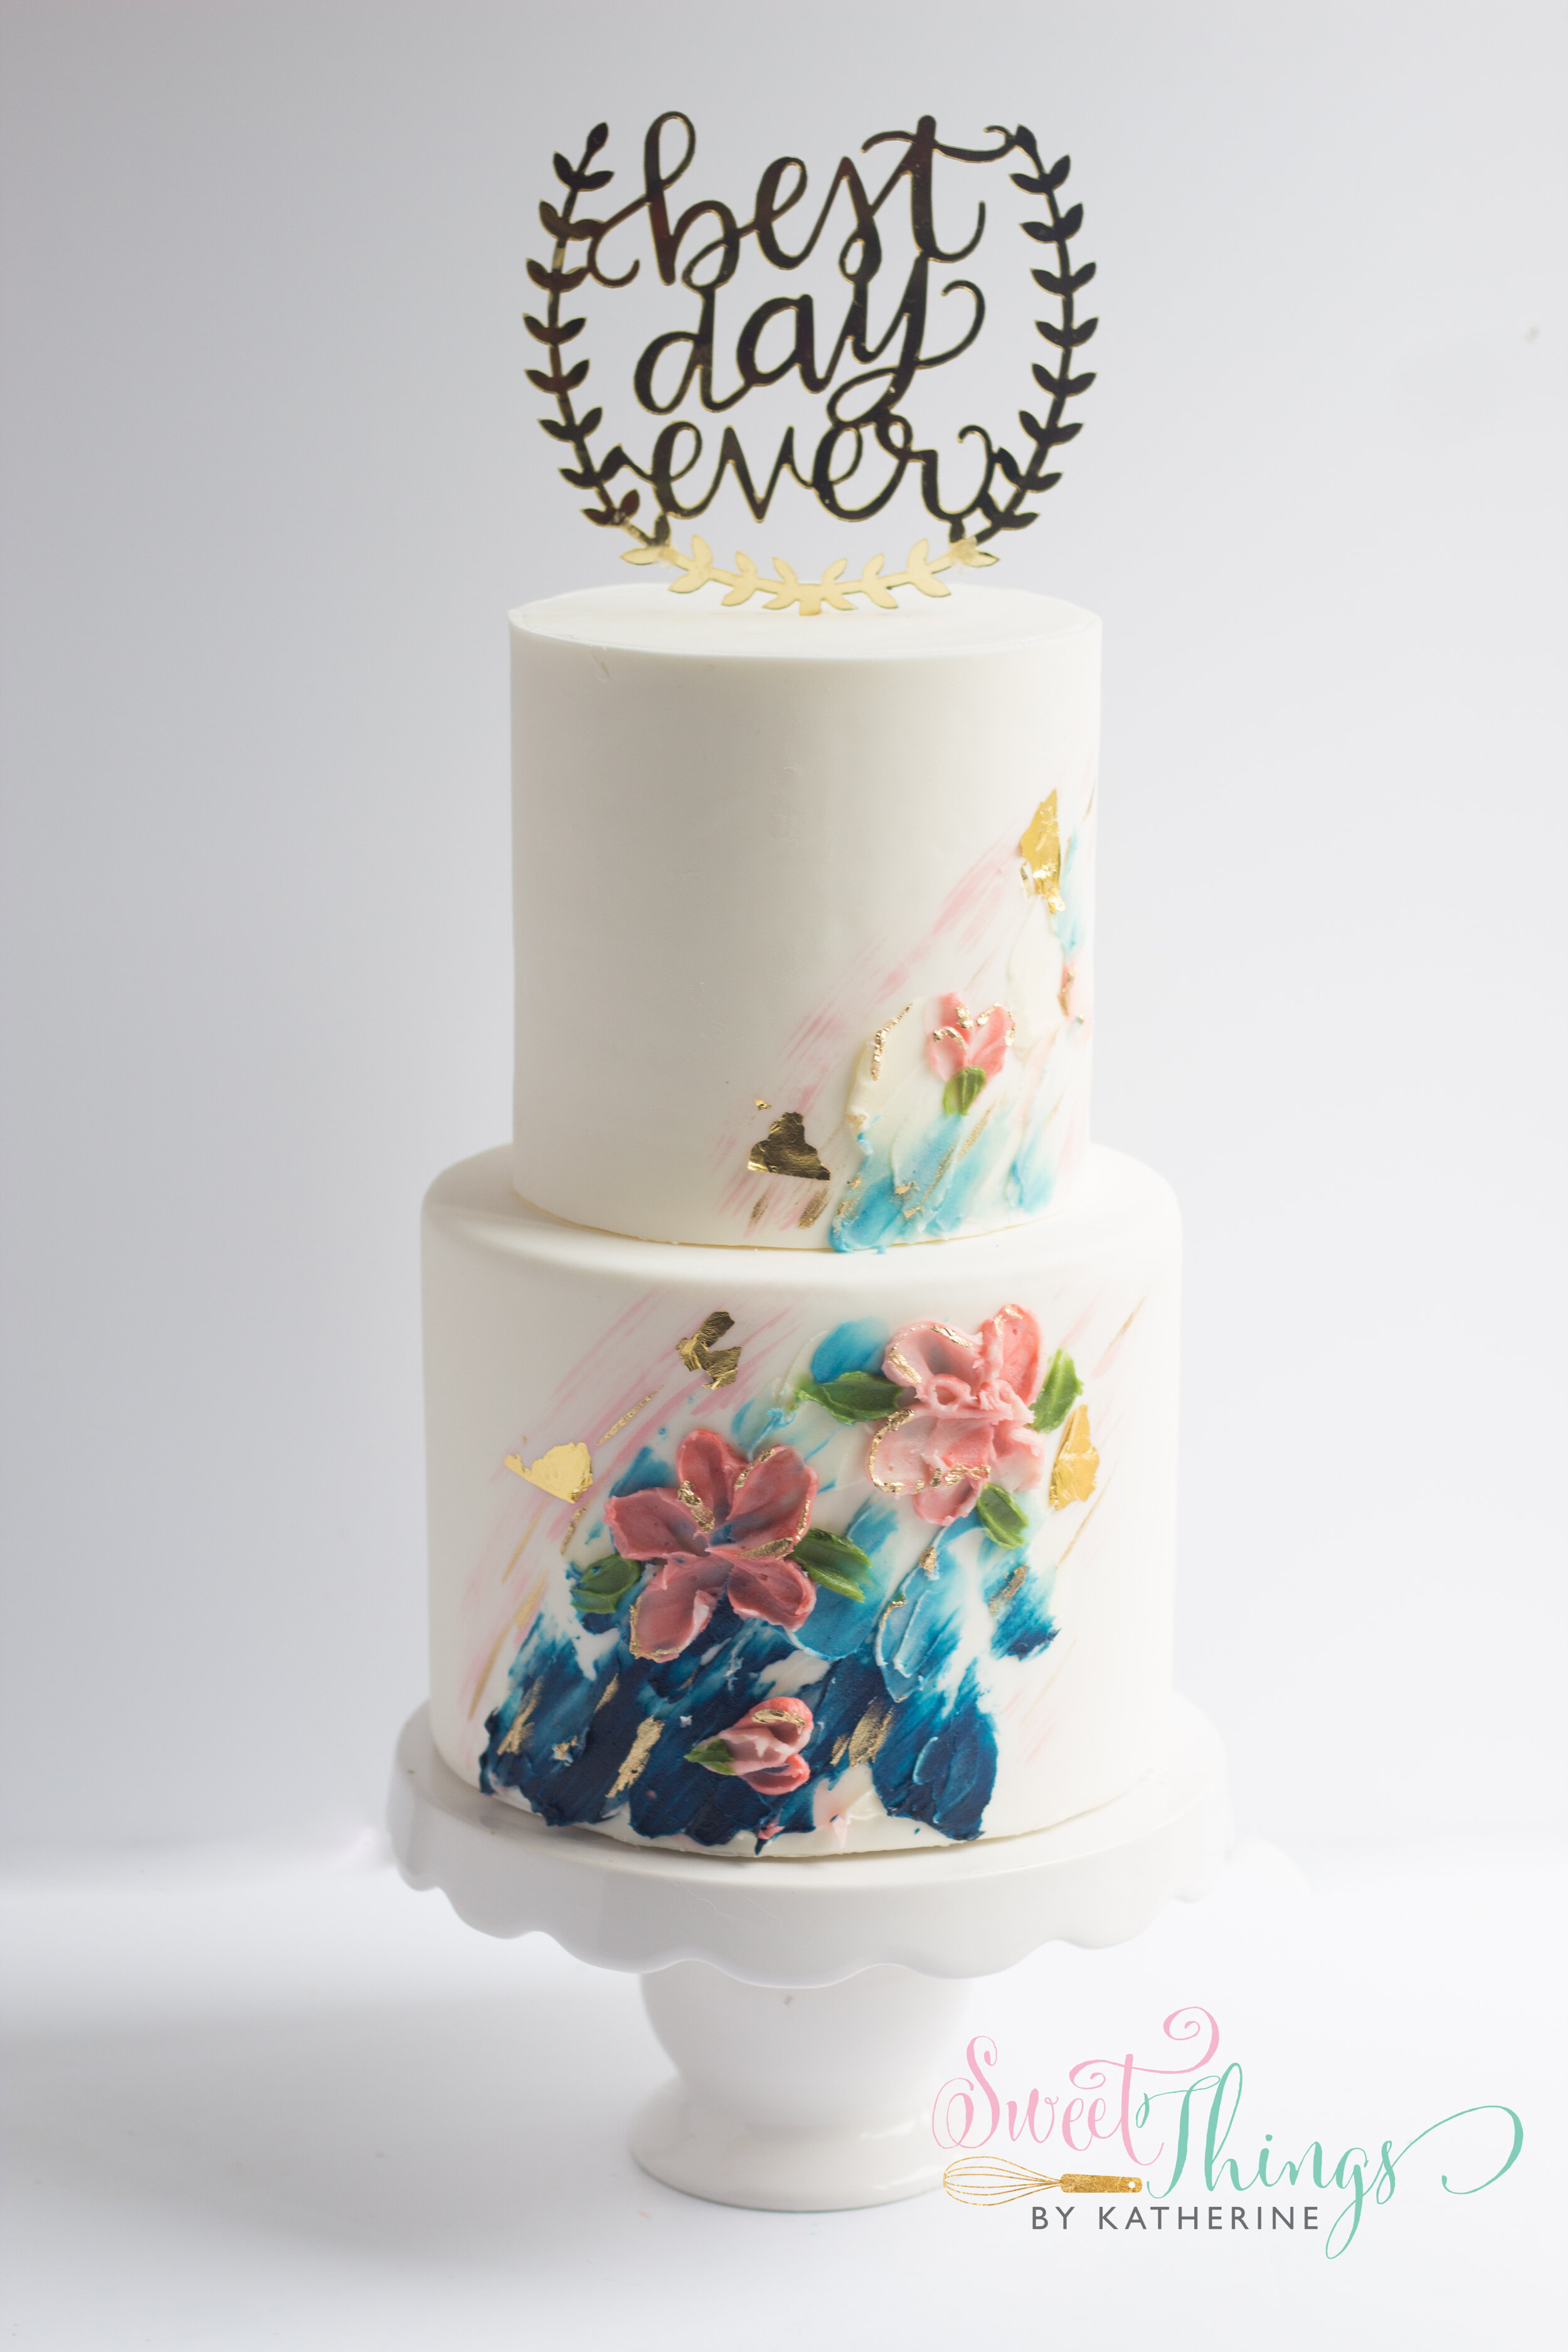
For this cake, I am basing my color palette and ideas off of two other cakes I have already decorated for a bridal show. I approach painting on a cake the same way I do on a canvas. I use a paint palette, paintbrushes, tapered spatulas of assorted shapes and sizes, natural sponges, a cup of clean water, paper towels, and a glass of wine. Ok, if its for a customer, maybe I’ll have the glass of wine AFTER the painting.
The very first stroke of buttercream or paint is always the scariest. It seems so permanent and intimidating. But, I promise, everything is fixable. We can turn anything into a happy little tree. People have no idea how many mistakes cake decorators cover up on a daily basis. On this cake, I want different shades of blush and navy brushing up the cake at an angle, so I will start there. I always start with my lightest color and work my way up. If I want a darker shade of anything, I will mix it up right on my palette, just like I would with acrylic paints.
Once I like the way the buttercream strokes look on my cake, I know that I want to add some flowers. However I don’t want the colors from the base to smudge the flowers I am about to put on. At this point, I will chill my cake for about 30 minutes.
Remember, that we are going for an organic, oil painted look here. You will not be able to see every single detail of every petal and leaf, so embrace it. Have a paper towel or sheet of paper near by so you can practice a flower or two on it before attempting on your cake. Decide if you like the look of a chunkier petal, slightly ruffled petal, etc. Keep in mind that doing it on the paper towel will be a little different than doing it on your cake. Use your sketch as a reference or a map of where you want your flowers to go and get to decorating.
I used a combination of a wide, squared off palette knife and pointed, thin palette knives. For wider buttercream strokes, use the squared one. For flowers, I used a medium sized pointed spatula. Make sure that when you are putting the buttercream on your spatula, you have plenty on there to give the flower some volume at the ends of the petals. For the leaves, I used a thin tapered palette knife and made sure I tried to bring the end to a point by dragging the tip of the knife a little further. Remember, embrace the imperfection of this method! It has been my experience that less is more with this technique. If you feel like it could use another flower, stop. After I convinced myself it was enough buttercream, I took some edible art paint in baby pink and made light strokes around the buttercream with a wide brush. Use a very light hand with this, you don’t want stark lines. I also used some Angela Morrison gold mixed with everclear to add some strokes around it as well. I took the picture and decided it needed just a little something extra so I added some edible gold leaf.
You will notice in the video that I added the food gel straight to my palette and buttercream. If I needed a lighter shade, I would take some white buttercream and use just a touch of my darker shade. You want different shades of all your colors to give it some dimension. I used the darkest shade of blue towards the bottom and added white buttercream as I made my way up.

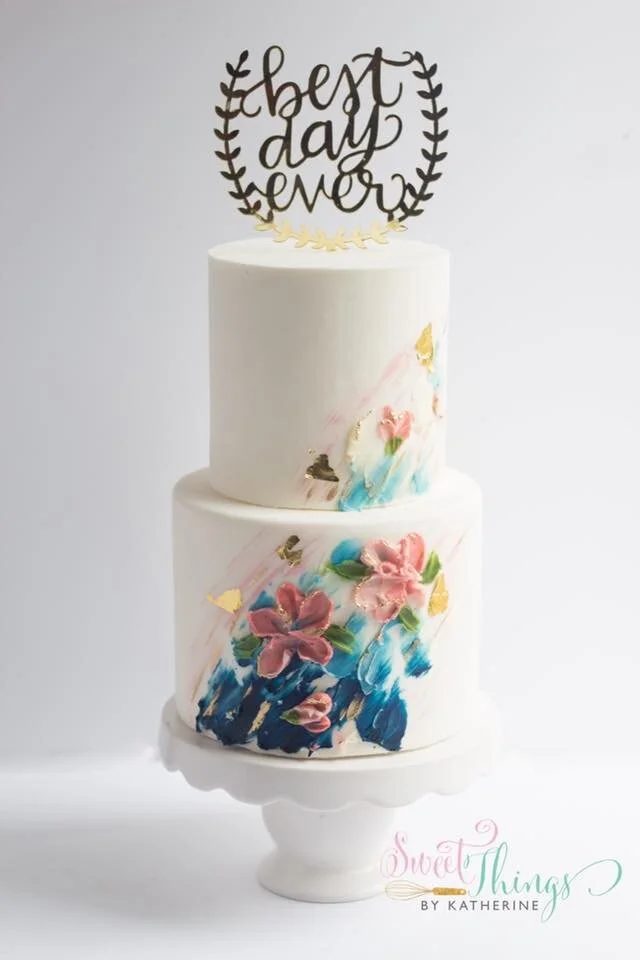
Just like that, a cake is done! My goal with this blog article was to show that this is a simple, yet beautiful way to decorate a cake. The first time might be a little intimidating, but there is really no right or wrong. Let yourself get lost in it and paint away.
(The following links are affiliate links)
Here are the supplies I used:
I also like the Barnabus brand of gold leaf. ALWAYS make sure that it comes with transfer sheets. You will save yourself a huge headache.
(The following are not affiliate links)
This is the planner with sketching templates I mentioned earlier. I love this planner.
These paints by SweetSticks are amazing and worth every penny. They are completely edible and FDA approved which is very big in the cake and cookie world.


